Welcome
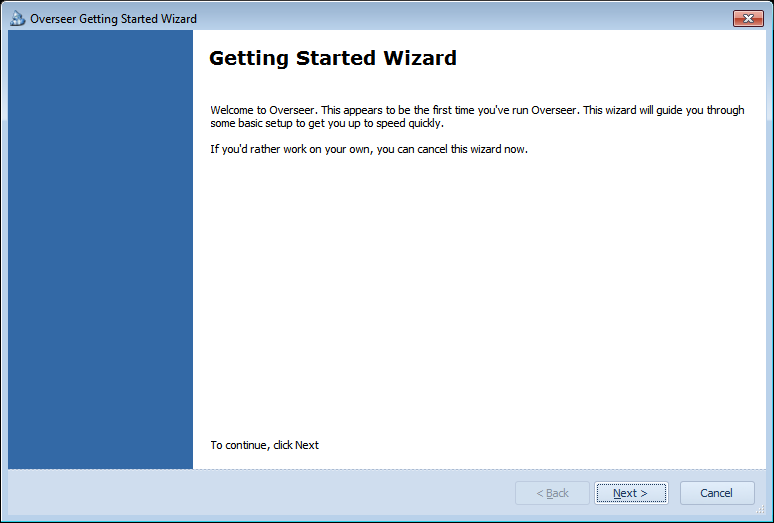
Once launched, you'll see a simple introduction screen for the wizard. Click Next.
SMTP Server Settings
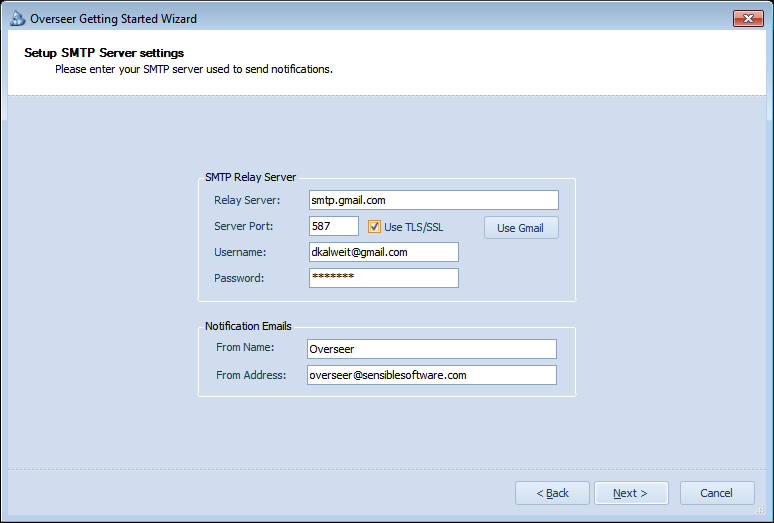
This screen lets you setup your SMTP server so Overseer can send notifications to you and your admins. See the 'See Also' link below to 'SMTP Email Settings' for details on using these fields. If you want to simply make it easy for now, click the 'Use Gmail' button and enter your gmail Email address and password, and these values will be pre-filled with Google's SMTP server information.
Setup your notifications
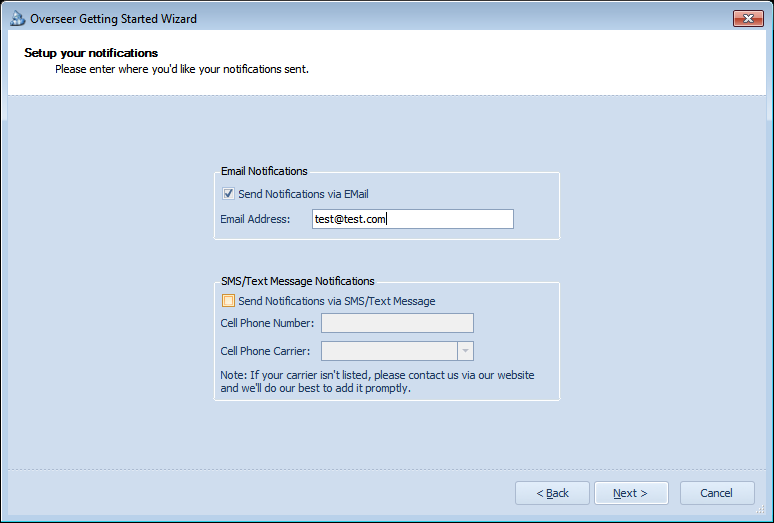
This screen lets you define where you want to be notified of problems with your resources. Simply enter your Email address, and optionally your text messaging information. Note that you can add additional Email addresses and phone#'s later, under Manage->Notifications.
Please enter credentials
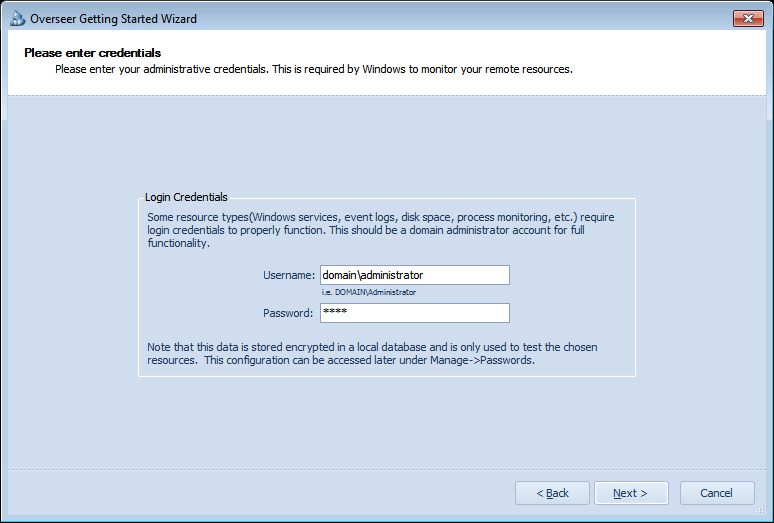
This screen lets you specify your domain admin password. This is needed to effectively monitor most Windows resources. Note that this is stored securely, encrypted, in the Overseer database. It is never exposed in the GUI, log files, etc.
Resource Creation
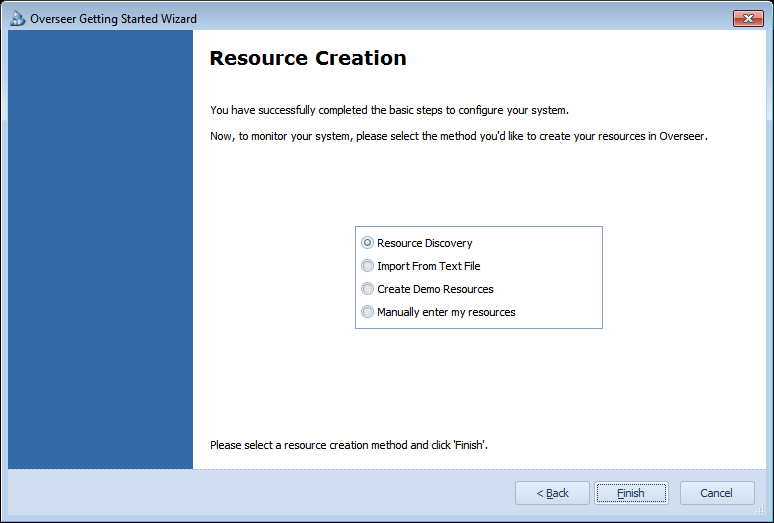
Once the resource is complete, this screen is displayed giving you options for how to create resources using the multiple options available. Resource Discovery is highly recommended, but if you simply want to evaluate the software very quickly, creating demo resources is probably the fastest way.
See Also:
Copyright 2003-2012 Sensible Software, Inc. All Rights Reserved.
Network Monitoring Software